Tips to help make your shower drain installation a success
If you are preparing to install an Oatey® Brass or Plastic No-Caulk Shower Drain, these tips will help you feel confident and ready to tackle your shower drain installation project like a Master Plumber. You can also refer to Oatey’s detailed step-by-step directions for no-caulk shower drain installations.
1. Understand Oatey No-Caulk Shower Drain use.
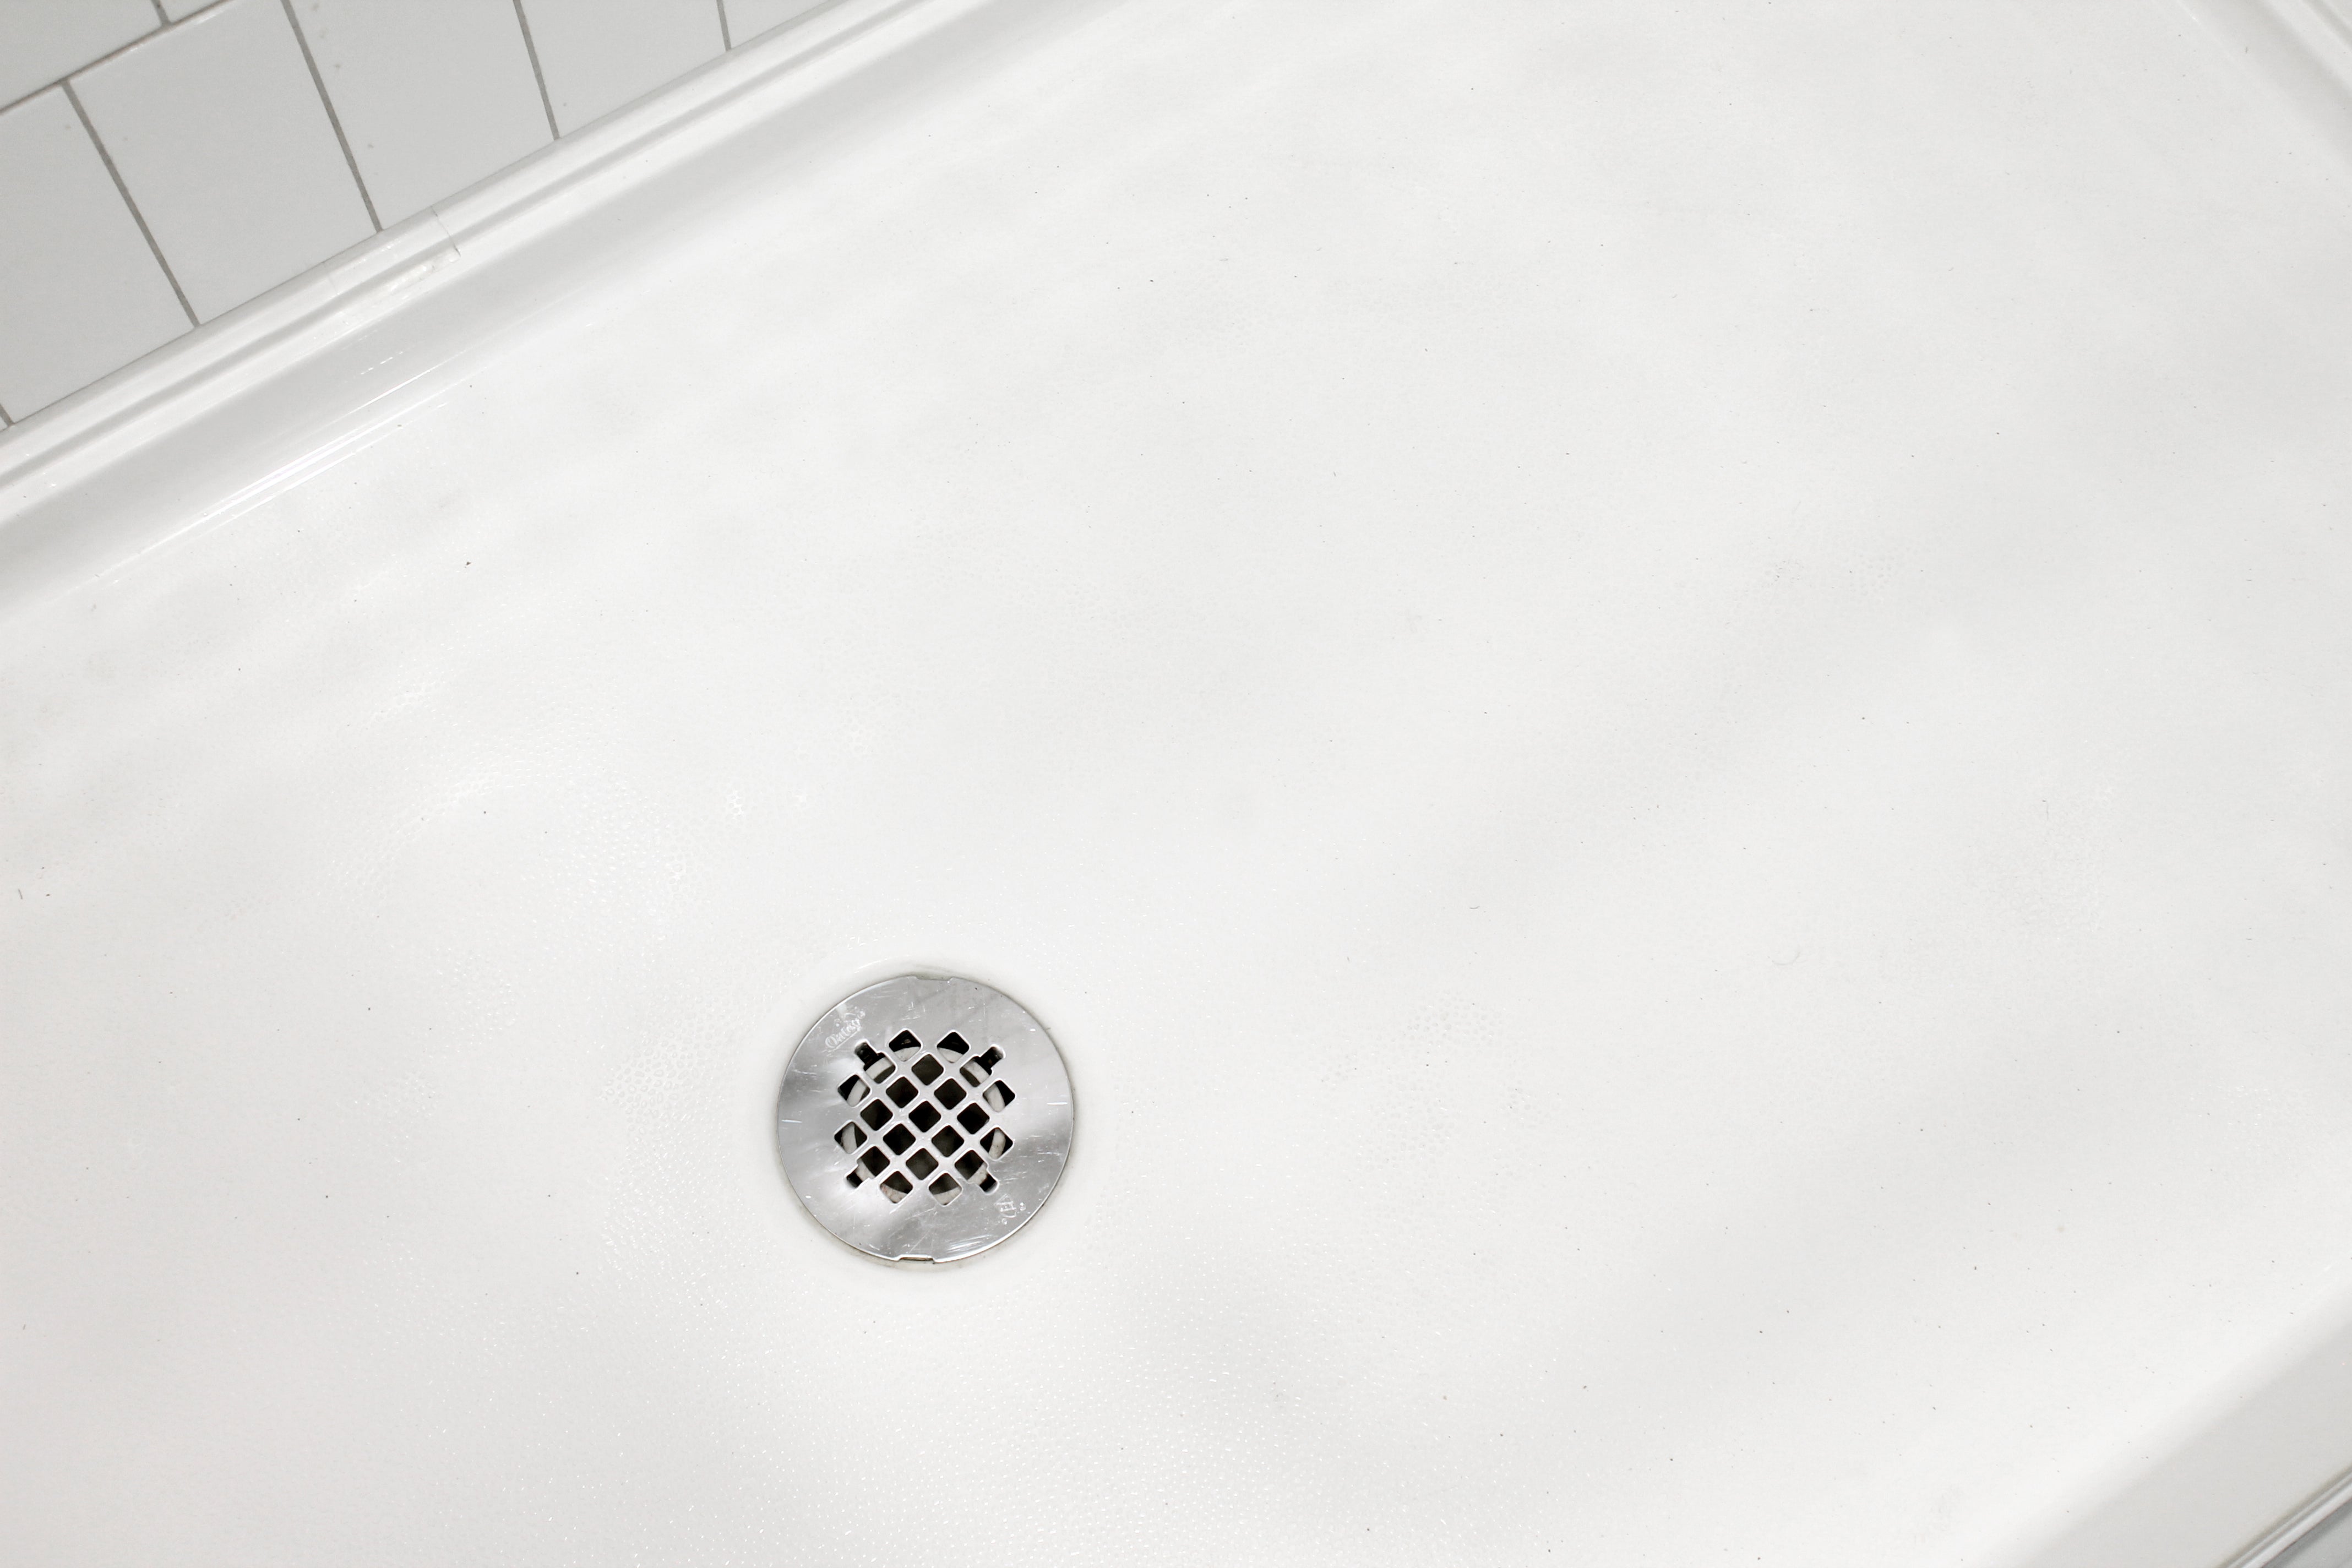
 No-Caulk shower drain products are not intended for use in a tiled shower floor. Oatey Brass and Plastic No-Caulk Shower Drains are designed for use with preformed shower stall bases. If the shower base is not a preformed stall, check out other shower drains available through Oatey.com that will accommodate your specifications.
2. Verify drainpipe size.
Verify the size of the vertical drainpipe – this should be 2”. Note that the 2” No-Caulk gasket provided with the drain assembly will create a watertight seal around PVC, ABS, cast iron and galvanized drainpipe. (The outside dimensions of these pipes are the same and referred to as Iron Pipe Size or IPS). If your vertical drainpipe is 2” DWV Copper or 1½” IPS size, please refer to Oatey’s website for optional gasket selection.
3. Determine material of existing pipe.
Know the material of the pipe you are using before installation. The material will help determine the type of connection used on the pipe. There are generally 5 different types of pipes found in residential use and divided between plastic or metal material:
Plastics: inexpensive and durable pipe that is more commonly found in newer construction; comes in 2 different types, both of which are ideal for residential drains and are preferred because they outlast most other types of pipes:
- ABS: Usually a black piping
- PVC: Typically a white pipe
Metals: Typically found in older dwellings, there are three types of metal pipes:
- Copper: Resists corrosion and lasts a long time but is more expensive than plastic.
- Steel: Galvanized steel pipes can be found in older homes and typically have a life expectancy of 50 years.
- Cast Iron: Heavy gauge material and normally preferred in older homes or to eliminate the sound of running water
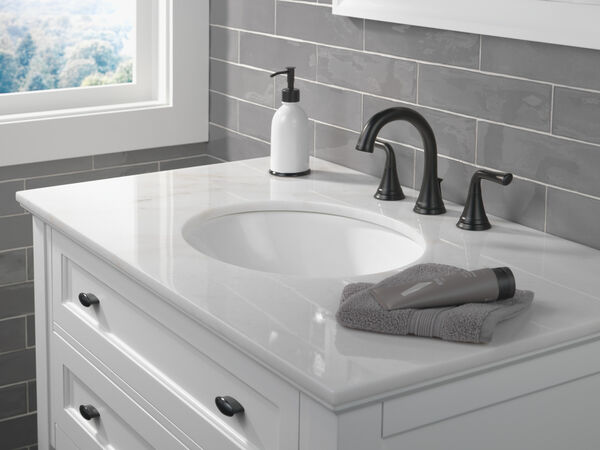
4. Know the material of the shower base.
- Oatey Plumber’s Putty is the most commonly used putty for No-Caulk Shower Drain installation – with exception of ABS which is explained in bullet 5
- However, if the shower base is Granite, Marble, Quartz, Sandstone, Corian®, Plastic or any natural porous surface, it is necessary to use a Oatey Stain Free Plumber’s Putty
- To ensure putty or sealant compatibility with shower base material, refer to the products submittal at Oatey.com
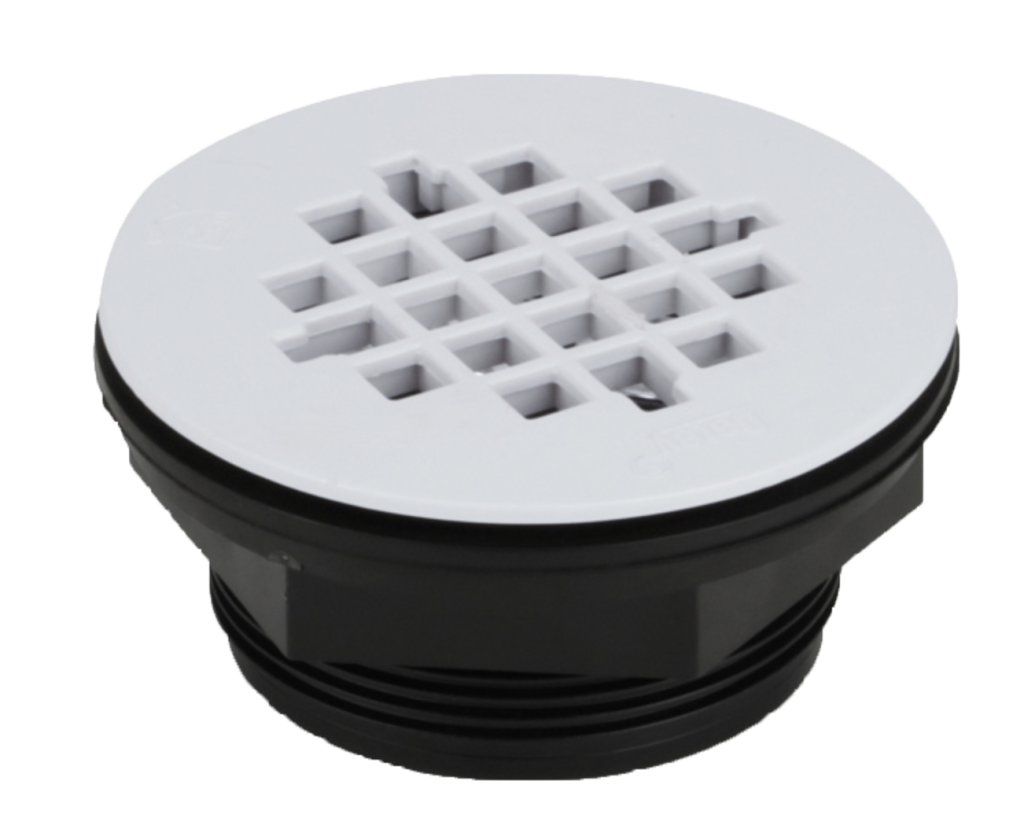
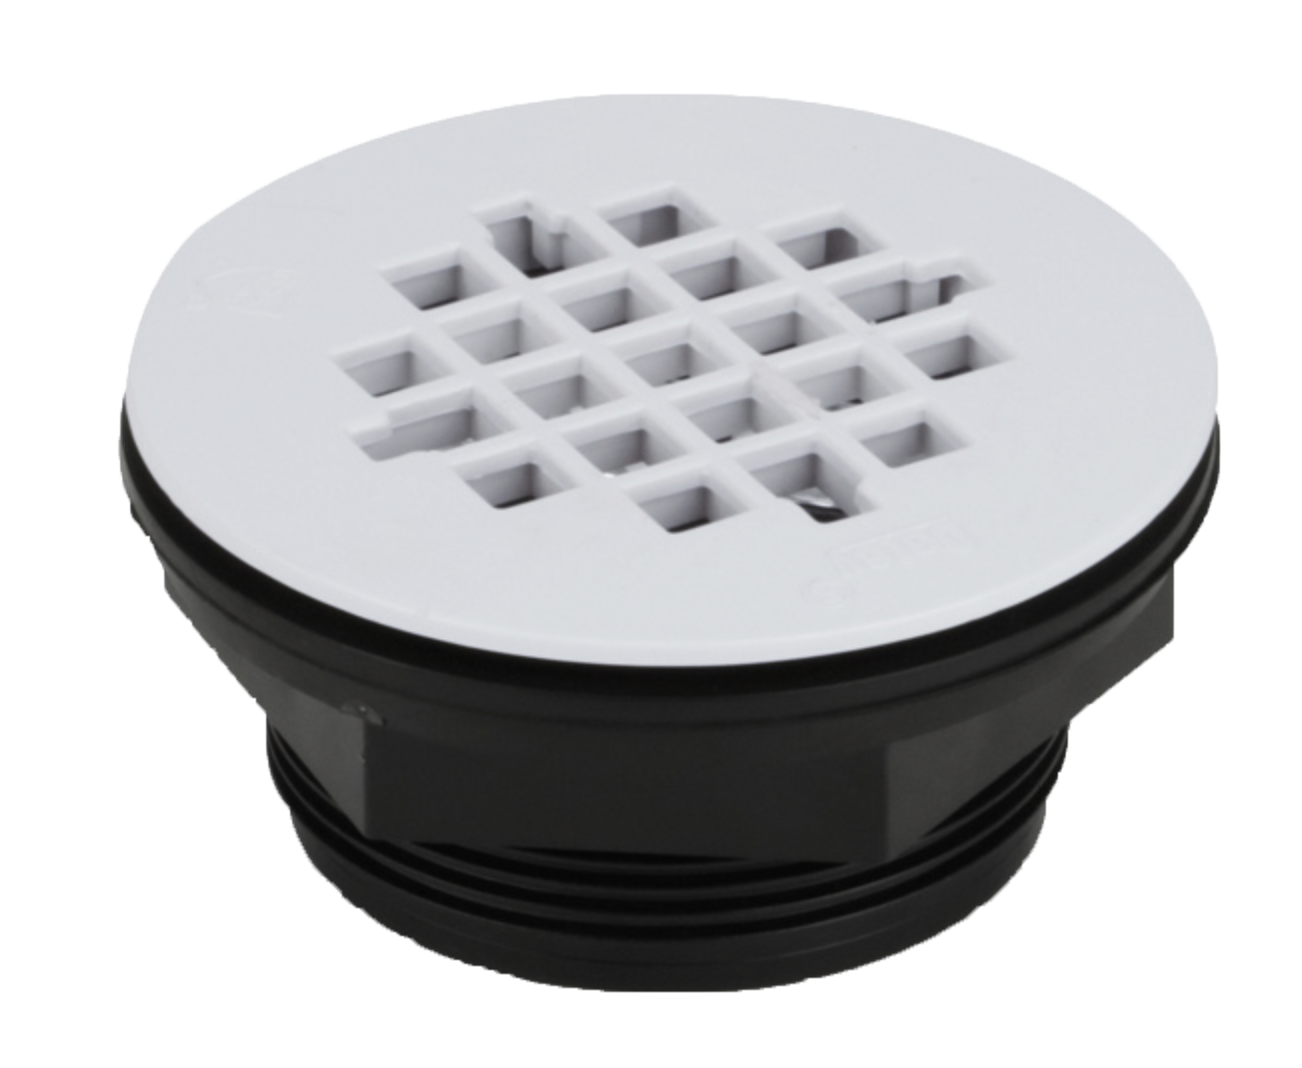
5. Identify the No-Caulk Shower Drain material.
There are 3 different Oatey No-Caulk Shower Drain materials available for preformed shower bases. Once the shower drain material is determined, select the approved putty or sealant for your application.
- Here are all the different variations of No-Caulk Shower Drains:
- Oatey 2 in. 101 PNC PVC NO-CAULK shower drain w/ stainless steel strainer
- Oatey 2 in. 101 PNC ABS NO-CAULK shower drain w/ plastic strainer
- Oatey 2 in. 101 PNC PVC NO-CAULK shower drain w/ Ultrashine® polished brass strainer
- Oatey 2 in. 101 PNC ABS NO-CAULK shower drain w/ stainless steel strainer
- Oatey 2 in. 140 NC Brass NO-CAULK shower drain w/ stainless steel strainer
- Any ABS No-Caulk Shower Drain installation requires the use of silicone because plumber’s putty is not approved for use with ABS materials.
6. Determine the height of vertical drainpipe.
Before installing the shower drain, determine the finished height of the vertical drainpipe to ensure it will seat properly into the no-caulk shower drain. Taking the time to check before finishing the installation can save a great amount of time.
7. Know the local code requirements.
Always check your local building and plumbing code requirements before starting any project. It is required to have a permit with your town before plumbing projects to guarantee you will pass inspection. To find out the codes for building and plumbing, visit your town hall, look online on your town’s website, or check your local library for more help.
Other Tips to Avoid Installation Issues:
 Know the correct order for installing the rubber washer and friction washer.
- The large rubber sealing washer will be placed up against the underside of the shower base, and the friction washer will be placed between the rubber sealing washer and locking nut.
- Chamfering the pipe end will help prevent gasket damage and is recommended.
- Chamfering refers to removing the sharp edge on the outside of the pipe which will prevent gouging and the possibility of cutting into the rubber gasket.
- Know the correct direction of the No-Caulk washer.
- Flat end down; beveled side must be up.
 Know the correct order for installing the rubber washer and friction washer.
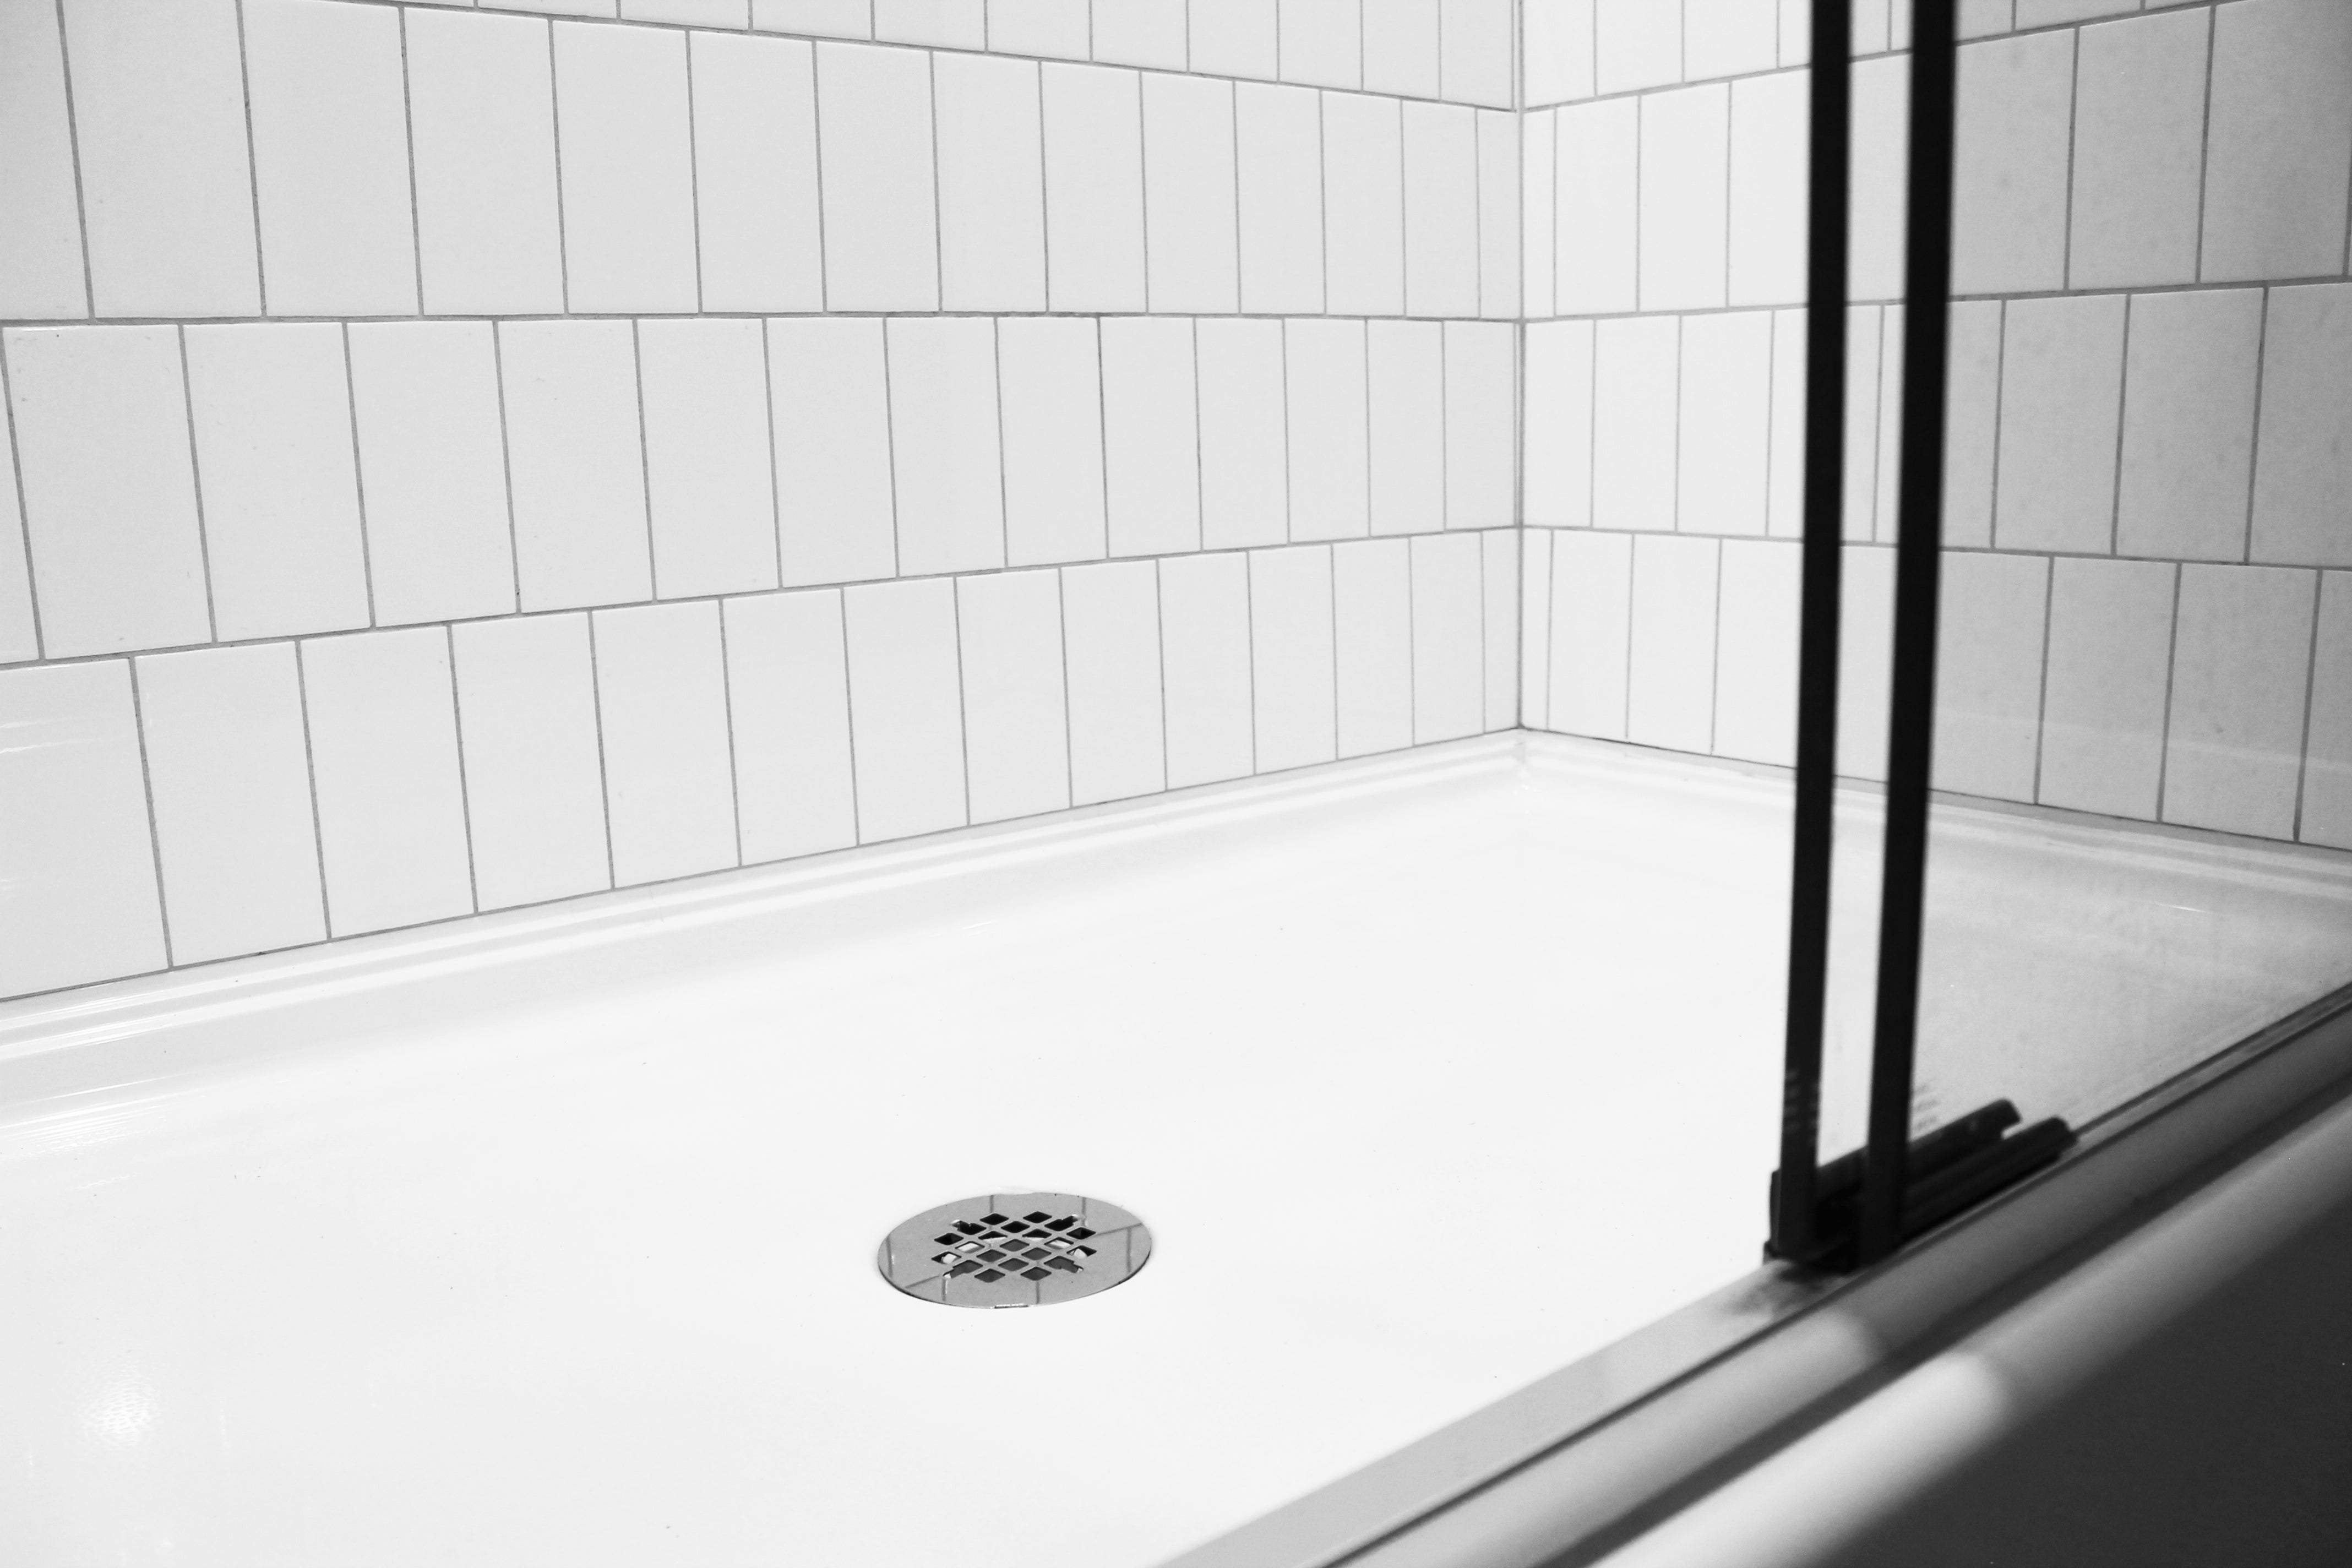
How to Remove the No-Caulk Shower Drain Cover:
If you need to remove the shower strainer for access to clean the drain or just freshen up the strainer’s appearance, follow these steps to eliminate possible damage to the strainer during removal.
- Use a screwdriver for the removal
- Place the end of the screwdriver under the notched area of the strainer
- Apply light upward pressure while being careful to not damage the finished surface
- No-caulk shower drain cover should release from shower base
- If you have any questions or concerns regarding the removal of your strainer, please contact Oatey Customer Service at technical@oatey.com
Common DIY Shower Drain Questions
- Can I still caulk the shower drain even though it is a No-caulk shower drain?
- No, adding the caulk can affect the capability to create a watertight seal in the shower base.
- Do you need a pan liner for the No-caulk shower drain?
- No, the shower base is considered to be the waterproof barrier.
- How high should the PVC pipe sit inside the drain body to ensure proper installation?
- The vertical DWV pipe should fully terminate 1” inside the no-caulk drain body before the gasket is installed to create the watertight seal.
- Any tips for getting the rubber to slide over the PVC easily?
- Chamfering, also known as beveling, on the outside of the vertical DWV pipe after it has been cut to the desired length will prevent any gasket damage and allow the gasket to be pushed down easily to the base of the drain body.
- Do you need to use a sealant between the flange and the shower base to keep water from leaking through the threads?
- By using Oatey Plumber’s Putty or 100% silicone sealant, a watertight seal is created between the drain flange and shower base if using the brass or PVC drain assemblies. If using ABS no-caulk drain assembly, plumber’s putty is not approved for ABS product installation and 100% silicone should be applied instead.
- If installing an approved no-caulk drain with plumber’s putty in colder temperatures, tighten into place and then allow for 20 mins of rest time. Then retighten drain to ensure all excess plumber’s putty is removed from under the flange.